
Quick Start Guide
To get started with the Agent SDK and quickly tryout the functionalities provided by it, follow this guide.
Prerequisites
- Install Node.js v24+ and npm v10+.
- Use any browser released on/later than 2022.
- Obtain the following details from your account administrator:
- Avaya Infinity Host — Hostname of your Avaya Infinity deployment.
- Client ID — the Agent SDK client ID used for authentication.
- Whitelist
http://localhost:3000(or the URL on which you plan to run the demo-app) from the Admin Console's SDK provisioning section. This is done by providing this path in redirect url list for the clientId which you will use to initialize the SDK.
Try the Demo App
The demo app is a fully functional agent client made to showcase the Agent SDK capabilities, it is available in the following repository.
-
Clone the repository and install dependencies:
git clone https://github.com/Avaya-Infinity/agent-sdk-web/tree/main/demo-app cd demo-app npm install -
Build and start the app:
npm run build npm run serve -
Open the URL shown in the terminal (typically
http://localhost:3000). -
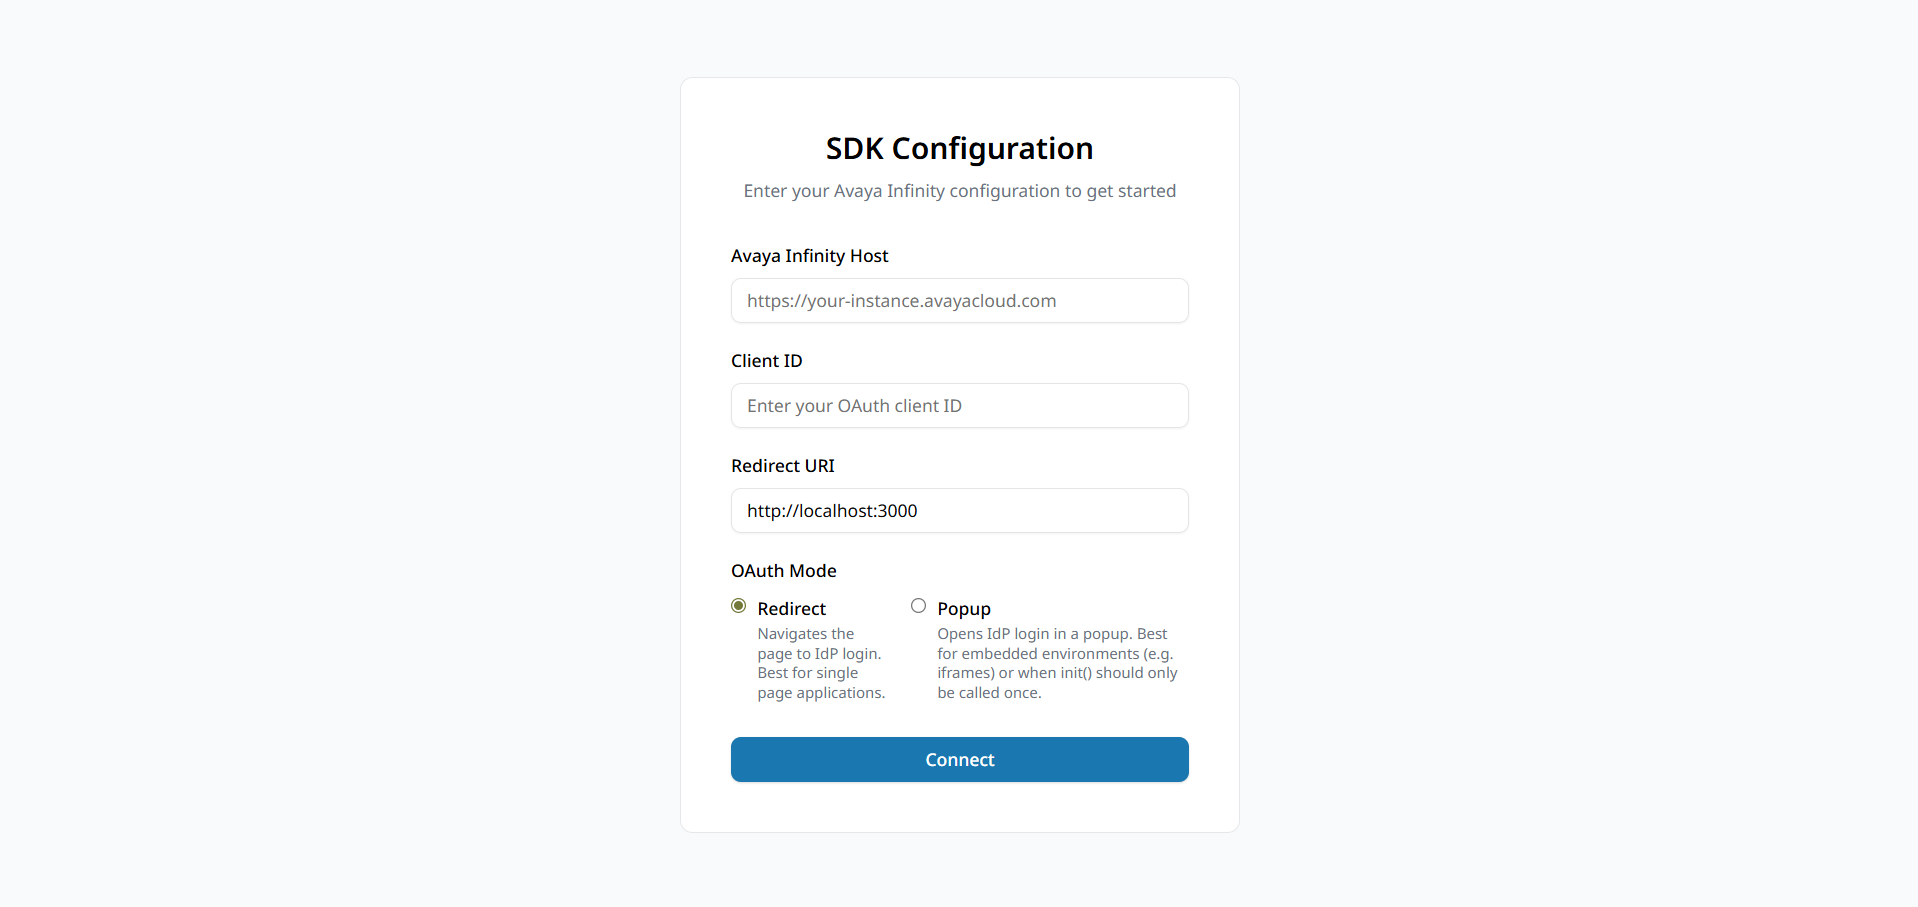
Enter your Avaya Infinity Host, Client ID and Redirect URI (
http://localhost:3000) on the settings screen, select an Auth mode ("popup" or "redirect"), and click Connect.
-
Popup — Opens the Avaya Infinity Agent login page in a new window instead of redirecting the current window.
-
Redirect — Redirects to the Avaya Infinity agent login page. The browser redirects back to the demo app once authentication succeeds.
- Authenticate with your Infinity Agent credentials. You are now logged in as an agent.
Next Steps
-
Refer the Demo App Code - You can refer the demo app code here
-
Build your own Agent UI -
To get started building your own Agent UI please refer to the Agent SDK Documentation. To get the complete reference of API surface (methods, events, types, and error codes) refer to API Documentation.
Updated 20 days ago