Try Messaging Now!
This page will walk you through how you can test your Avaya Experience Platform™ Messaging features instantly using a test Web Messenger app
Overview
This guide will walk you through configuring and testing with our readily available Messaging demo apps so you can see how the functionality of the Messaging client could look on your Web, Android, or iOS app once you integrate our available Web Messenger SDK, Android SDK, or iOS SDK.
Prerequisites to Trying Messaging
Note
Download our Web Messenger SDK, Android SDK, and iOS SDK here. Make sure you download the Messaging SDK page here from DevConnect
Warning
You must be an Avaya Experience Platform™ customer with Messaging enabled. In order to test with the demo apps, you must be an Avaya Experience Platform™ customer with Messaging enabled on your account. If you are not currently or lost your Messaging credentials, please contact your Avaya representative.
Warning
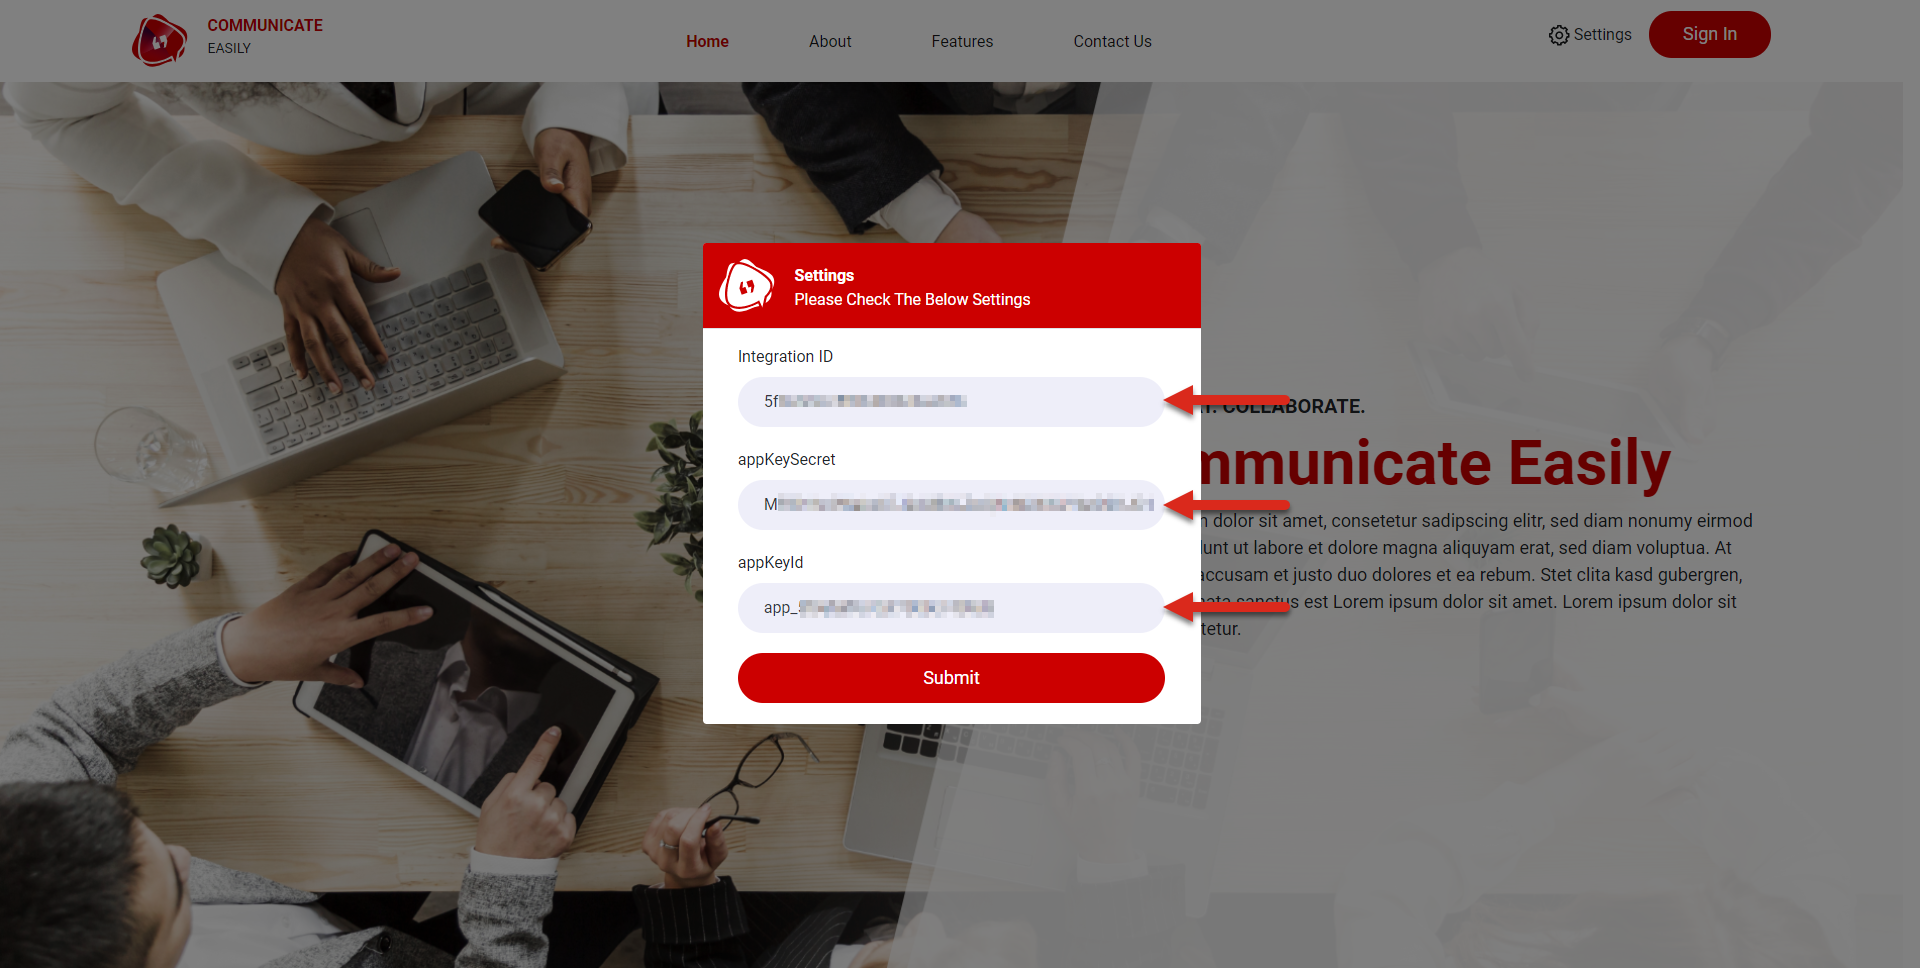
You must have your Messaging App credentials. In order to test with the demo apps, you must have your Messaging App credentials readily available. You should have received an integrationId, appKeySecret, and appKeyId along with a demo customer First Name, Last Name, and User Name to test with
Web Messenger Demo App
This Web Messenger demo app will allow you to test the Web Messenger's functionality as if you were a customer on your website trying to message one of your agents.
Configuration
To test the Web Messenger, you will need to do the following:
- Go to https://messenger-15.experience.avaya.com/
- (Optional) You may get a certificate error, please ignore and proceed to the Web Messenger demo app
- Click on "Settings" to get started
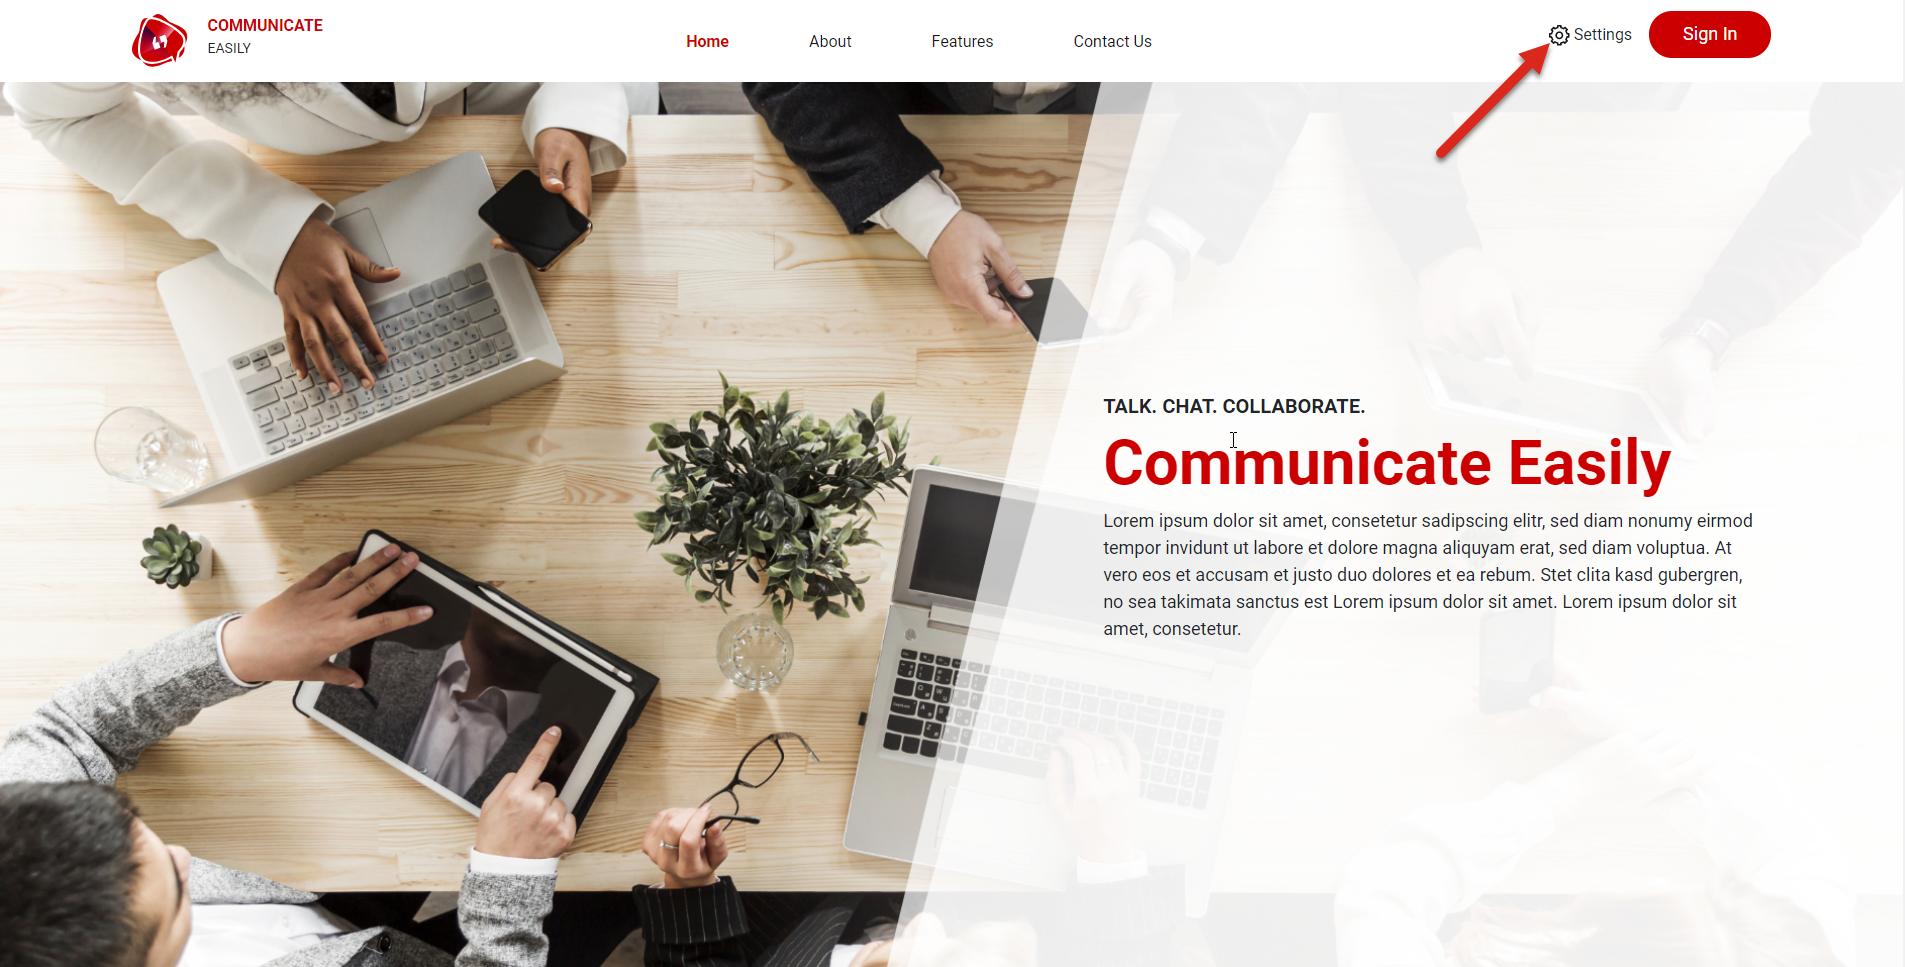
- As a Avaya Experience Platform™ customer with Messaging enabled, you should have received Messaging App credentials from Avaya. Enter the Web Messenger IntegrationId, appKeySecret, and appKeyId that were provided to you and click "Submit"
Messaging as a Guest User
After having the Web Messenger settings successfully submitted, a Messaging icon will appear on the lower right side of the webpage. You can click on this Messaging icon to being messaging with one of your authenticated agents on Avaya Experience Platform™, but since you have not "Signed In" as a demo customer, you will not see your Messaging conversation history.
To test the Web Messenger as an unauthenticated demo customer, you will need to do the following:
- Click the Messaging icon
![]()
- Once the Messaging window is open you will see an empty conversation history
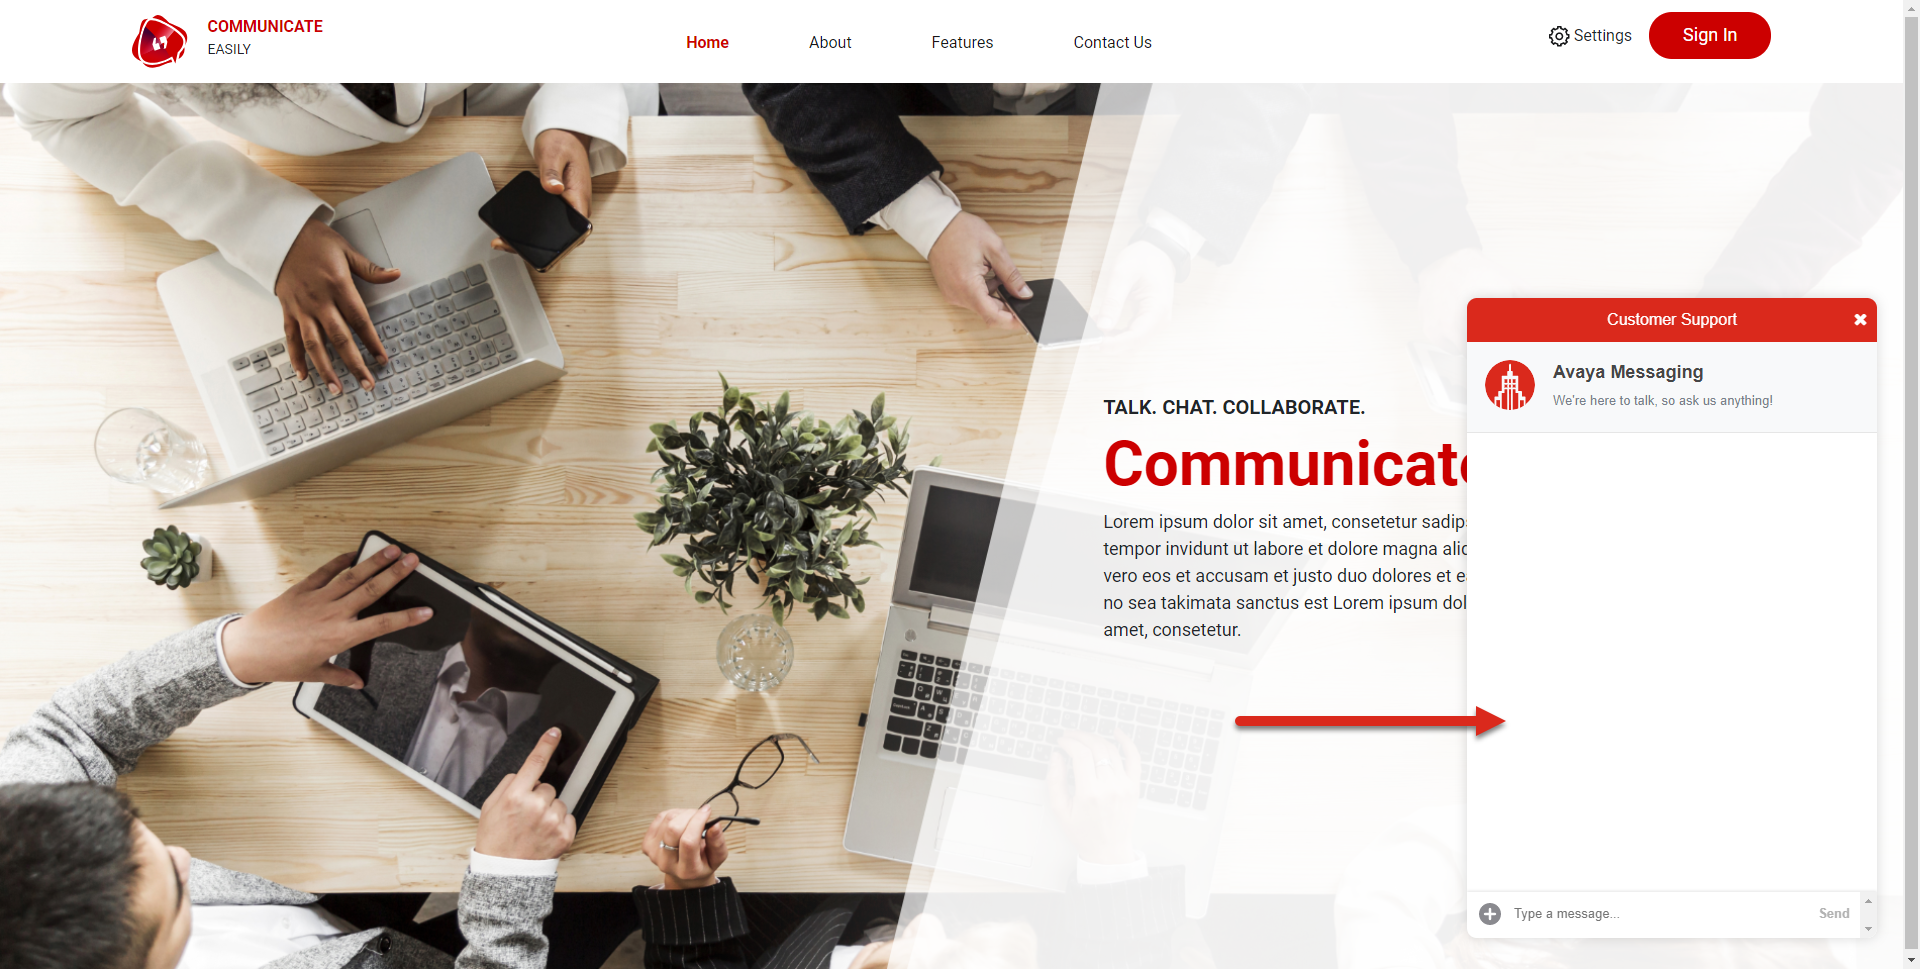
- You can begin to "Type a message..." to start a Messaging interaction with one of your agents on Avaya Experience Platform™ as an unauthenticated demo customer
Messaging as an Authenticated User
After having the Web Messenger settings successfully submitted, a Messaging icon will appear on the lower right side of the webpage. If you want to see your Messaging conversation history, you will need to authenticate as a demo customer. You should have received demo customer credentials from Avaya when signing up for Messaging.
To test the Web Messenger as an authenticated demo customer, you will need to do the following:
- With the Web Messenger settings successfully submitted, you can click "Sign In" and authenticate as a demo customer
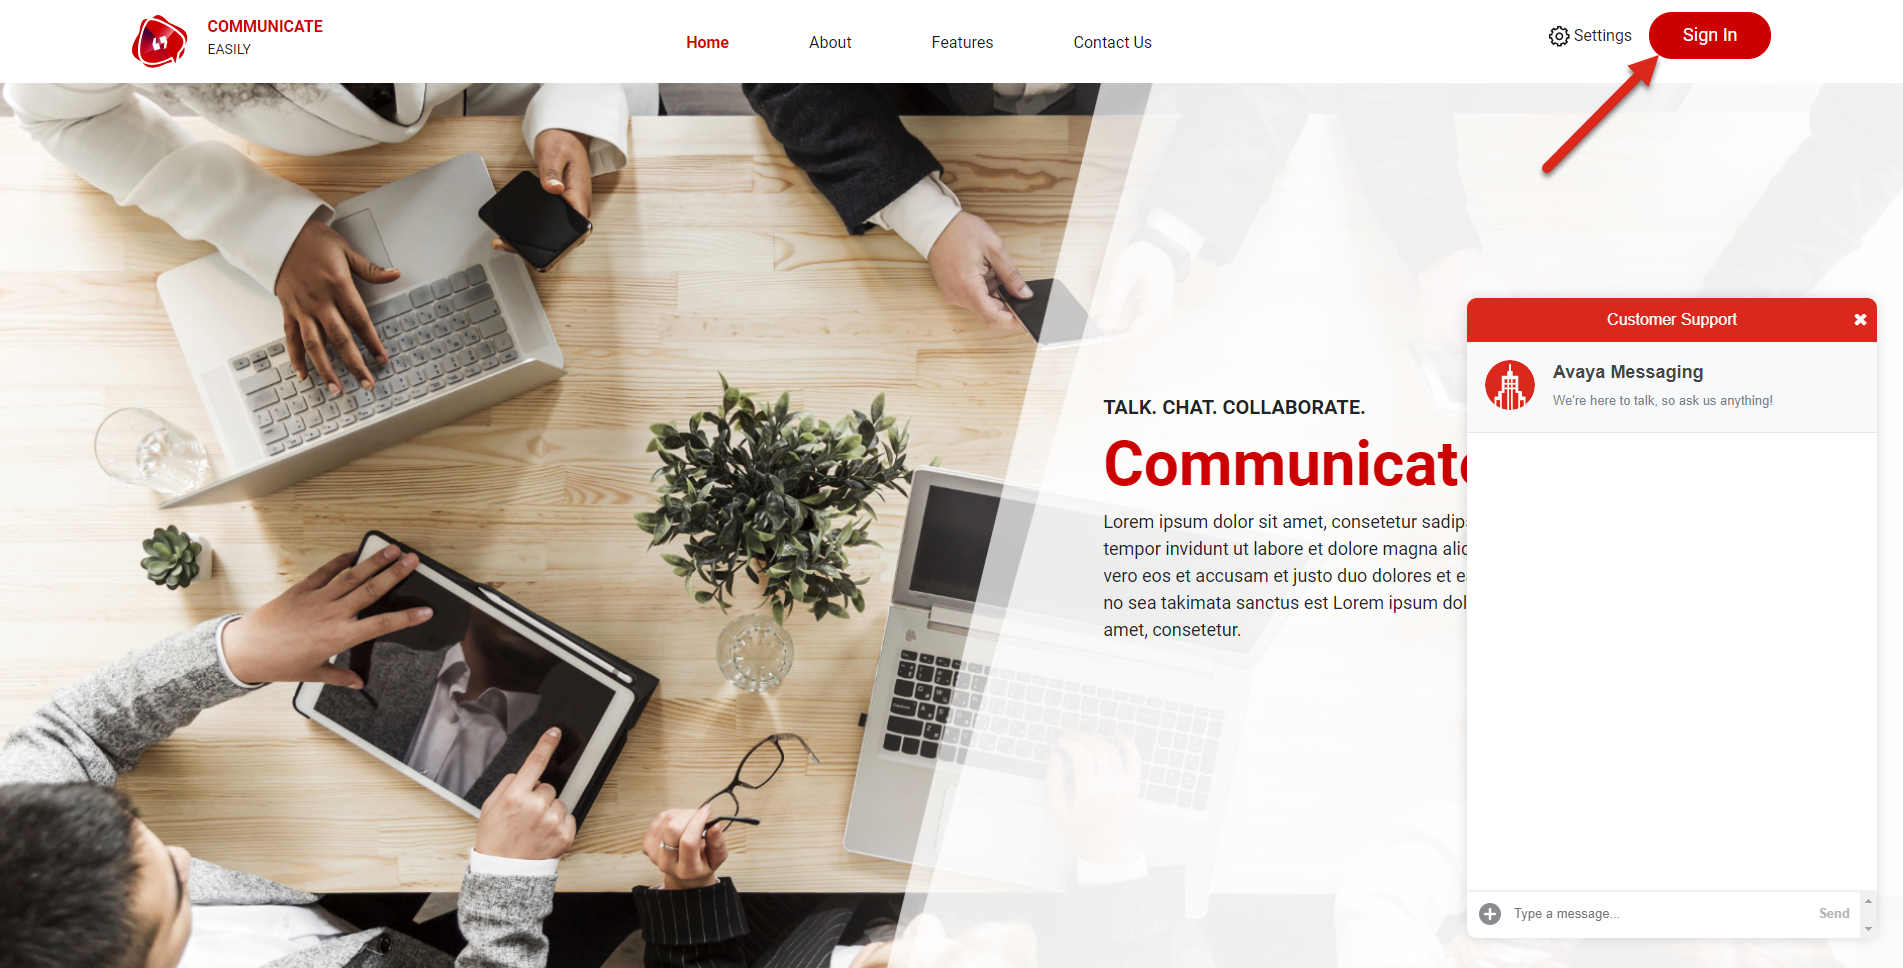
- Enter in your demo customer credentials that were given to you (First Name, Last Name, and User Name) to authenticate as a demo customer:
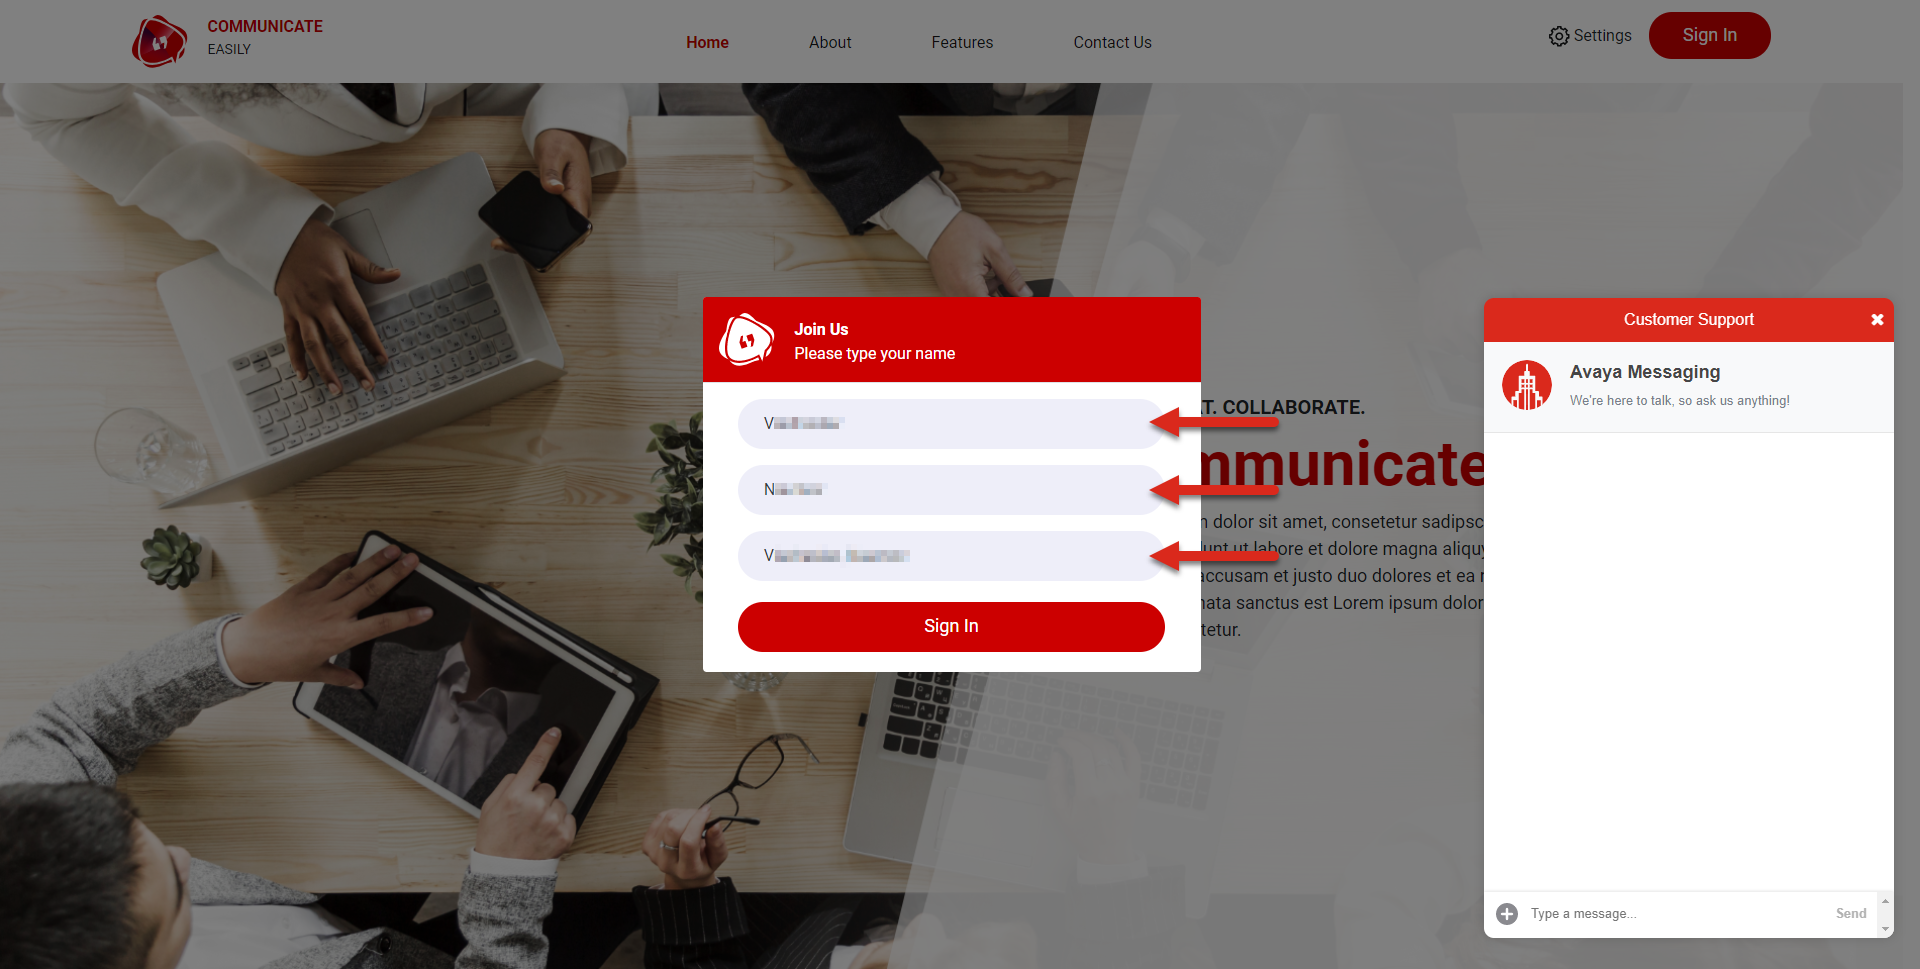
- After successfully authenticating as a demo customer, you will see the webpage recognizes your user name in the upper right and the Messaging window will now show your entire conversation history as the demo user
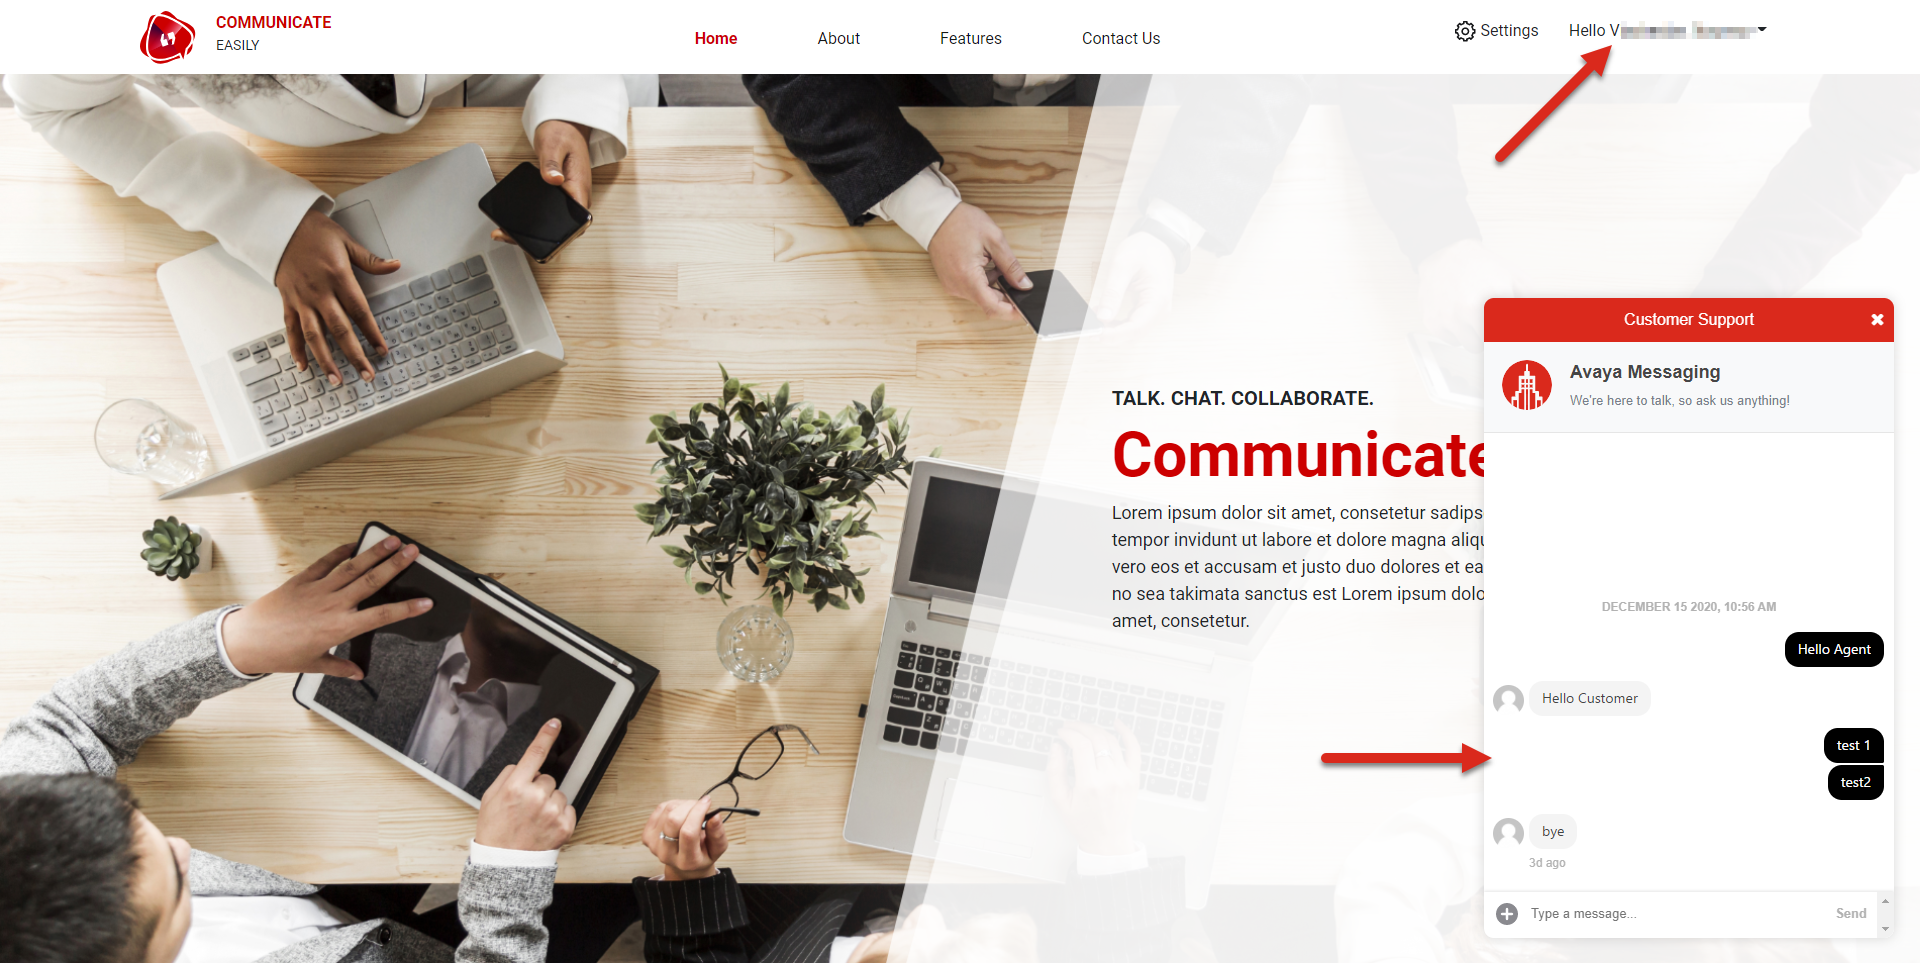
- You can begin to "Type a message..." to start a Messaging interaction with one of your agents on Avaya Experience Platform™ as an authenticated demo customer
Android SDK Demo App
This Android SDK demo app will allow you to test the Android SDK's functionality as if you were a customer on your Android app trying to message one of your agents.
Downloading and Compiling the Android Demo App
To compile the Android SDK demo app, you will need to do the following:
- Download the Messaging SDK package from Devconnect
- Open to (Base folder)>android>DemoApp to see the Android SDK demo app files
- Import the DemoApp file into Android Studio to compile the demo app into an .apk file
- Once you have the .apk file, you have a couple of options of for running the demo app:
- Run it in Android Studio using debug mode
- Download and use a third-party Android emulator to import the .apk file into
BlueStacks Example - Configuration
Once you successfully have compiled the Android SDK demo app and have successfully uploaded the .apk file to BlueStacks, you will be able to open the .apk file at any time to begin testing with the Android SDK demo app.
To test the Android SDK demo app in BlueStacks, you will need to do the following:
- Open and install the .apk file by double-clicking on it

- Once the installation has completed, open BlueStacks
- In BlueStacks, click "My games" and you should see the "Avaya Demo App" available if everything installed correctly
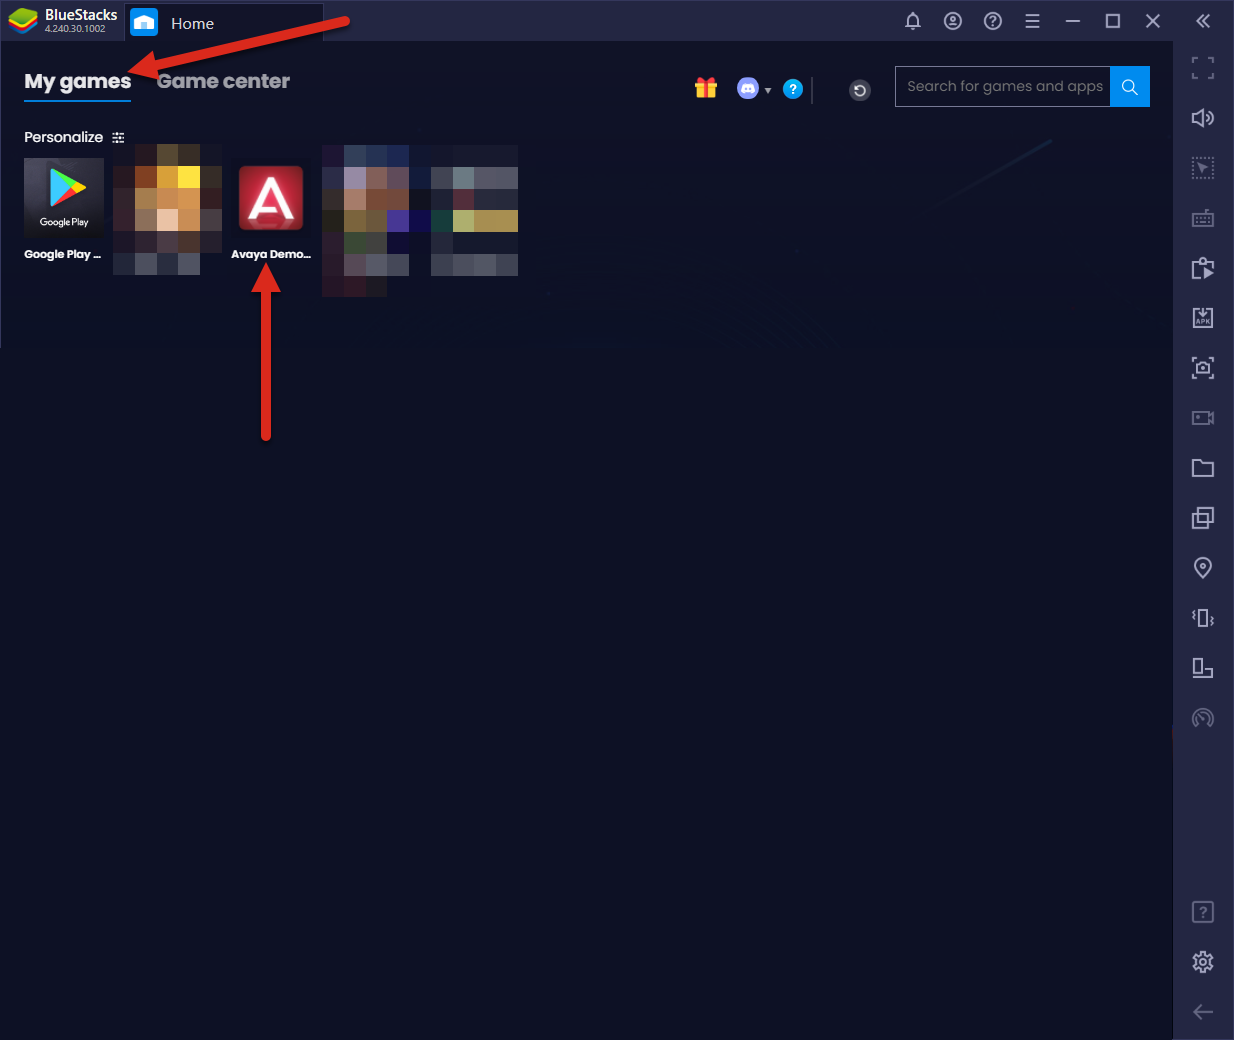
- Click on the "Avaya Demo App" to open it
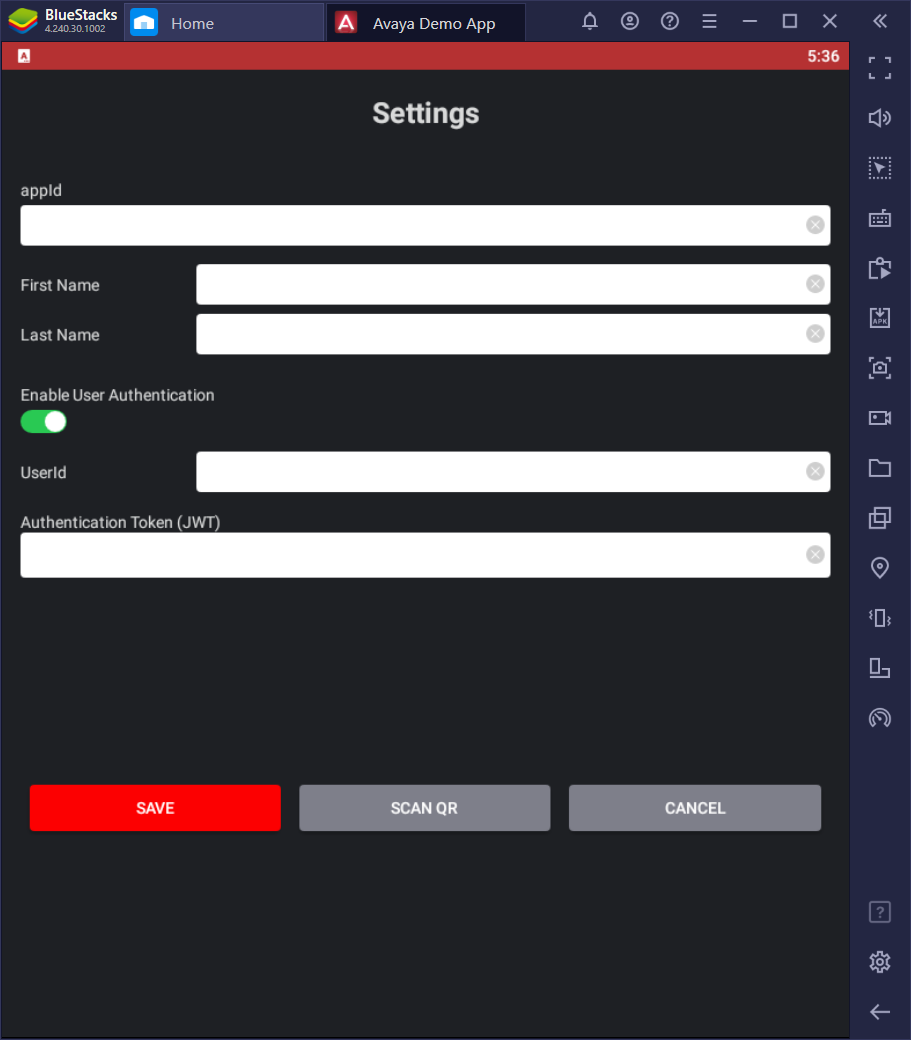
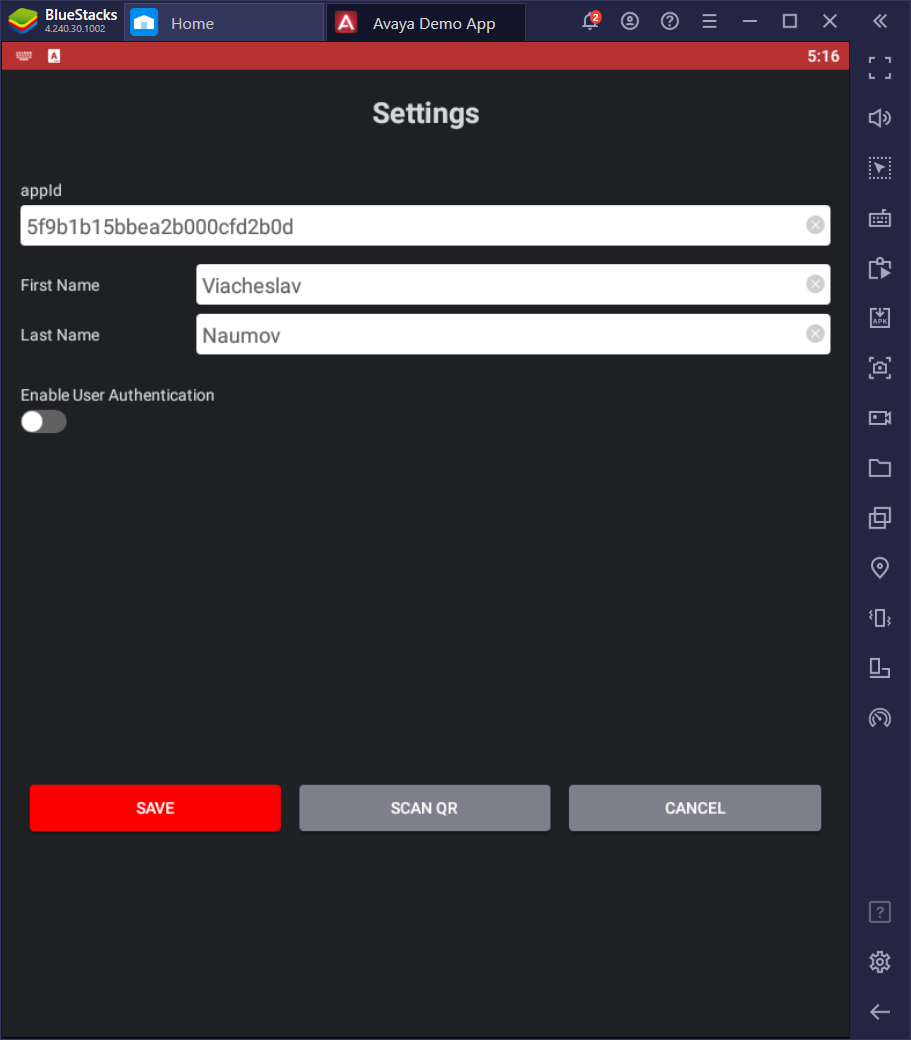
- The first screen you will see is the "Settings" screen where you will need to enter your Messaging Credentials
BlueStacks Example - Messaging as a Guest User
- As a Avaya Experience Platform™ customer with Messaging enabled, you should have received Messaging App credentials from Avaya. Enter the Android SDK IntegrationId, First Name, and Last Name that was provided to you.
- To continue as a Guest User that is unauthenticated, you should toggle off the "Enable User Authentication" toggle and click "Save"
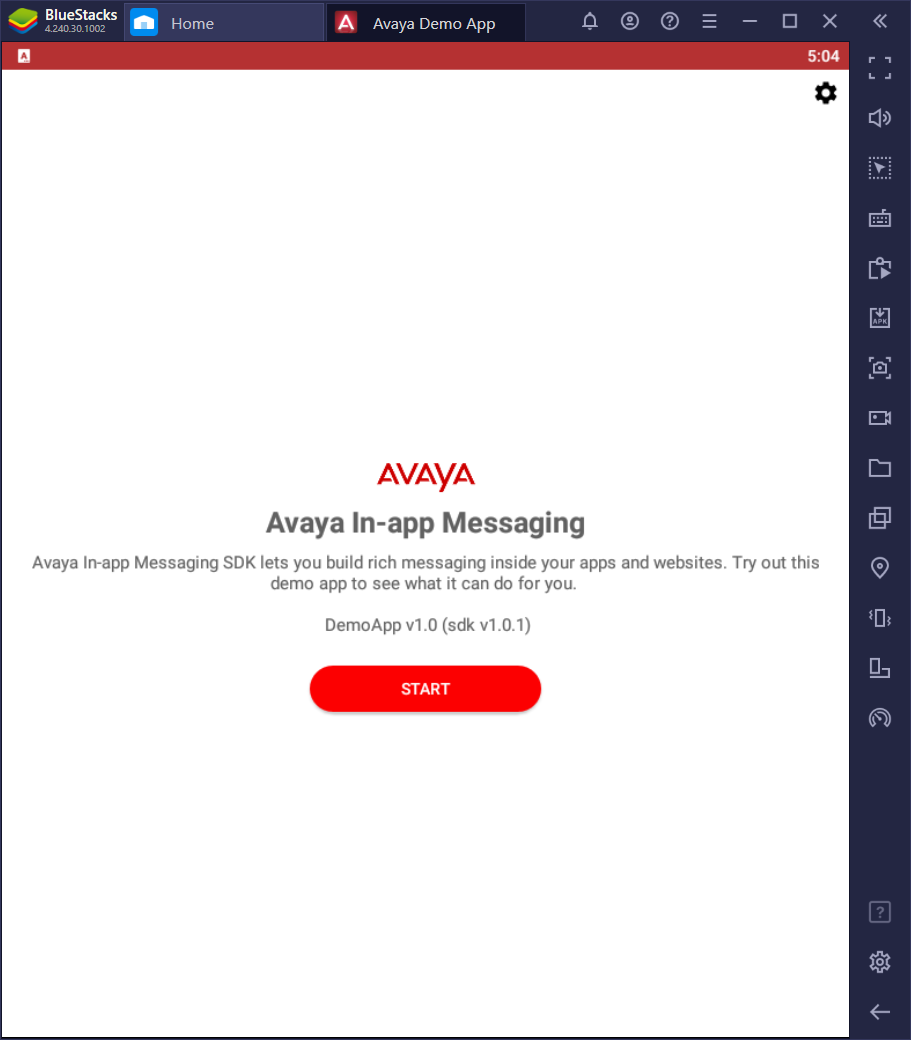
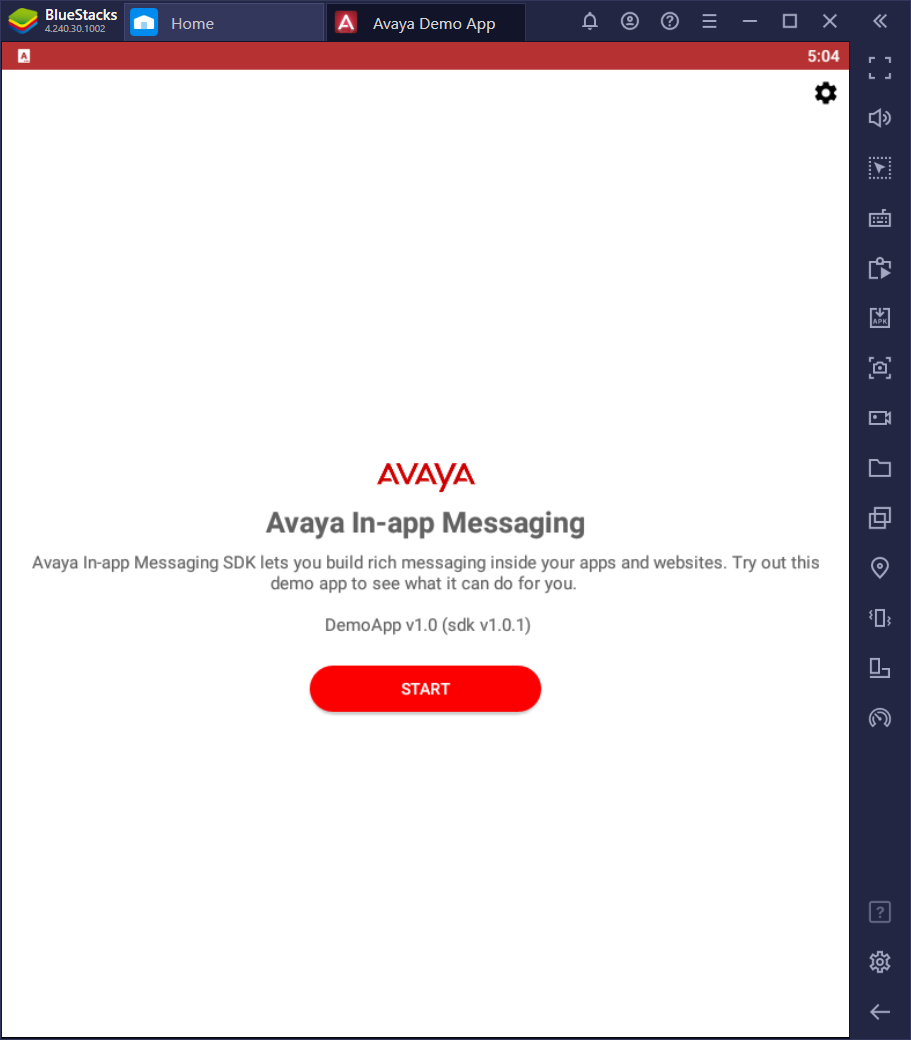
- You will be taken to a landing page where you can click "Start"
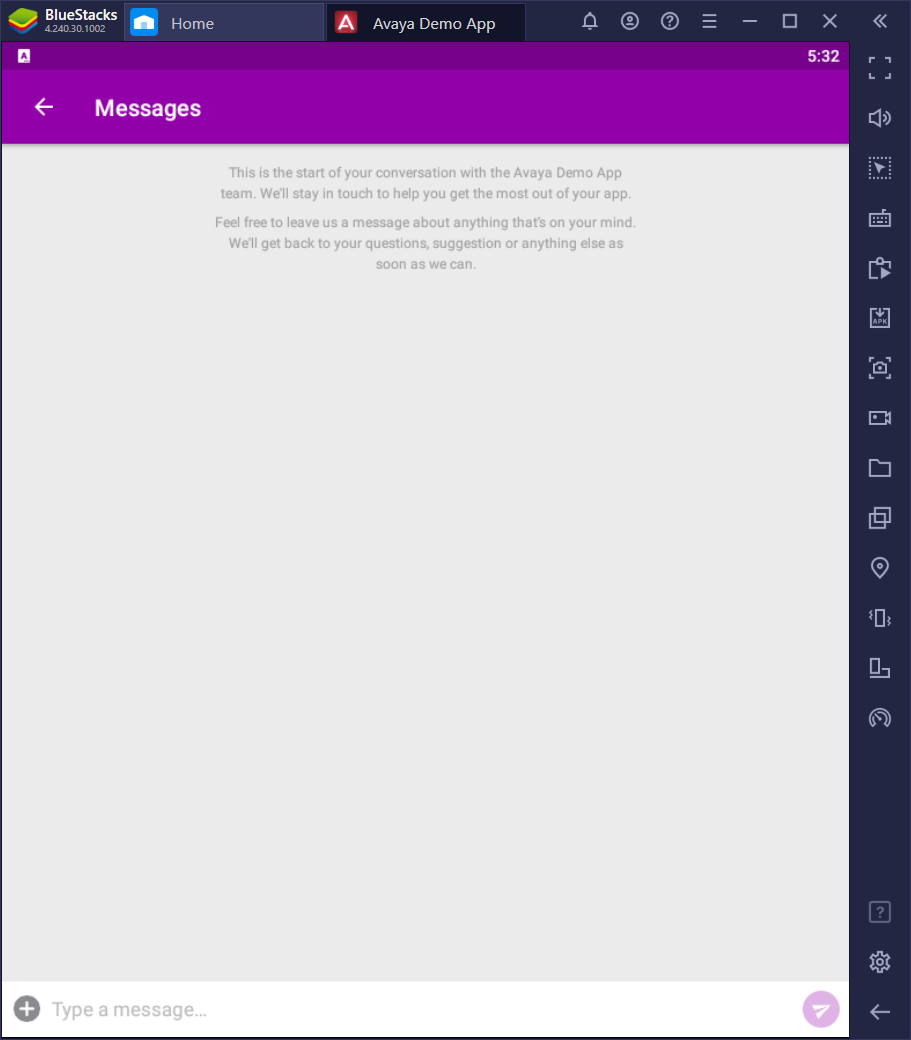
- You can begin to "Type a message..." to start a Messaging interaction with one of your agents on Avaya Experience Platform™ as an unauthenticated demo customer
BlueStacks Example - Messaging as an Authenticated User
- As a Avaya Experience Platform™ customer with Messaging enabled, you should have received Messaging App credentials from Avaya. Enter the Android SDK IntegrationId, First Name, and Last Name that was provided to you.
- If you would like to continue as an Authenticated User, you should keep the "Enable User Authentication" toggle on and enter the User Name
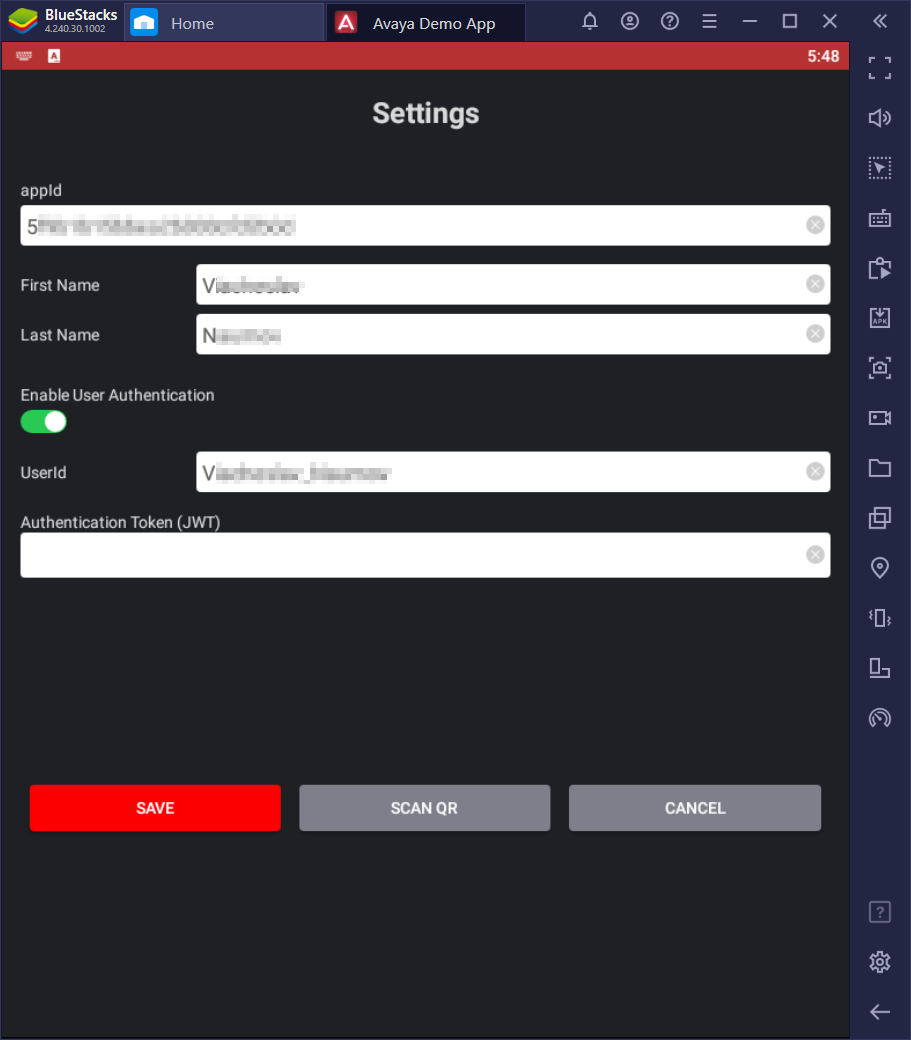
- Now we'll need to obtain a JWT Token to authenticate our demo customer with, to start go to JWT.io
- On JWT.io, enter the following into the Decoded section of the page:
- Enter the provided appKeyId into the "HEADER:ALGORITHM & TOKEN TYPE" section as follows:
{
"alg": "HS256",
"typ": "JWT",
"kid": "<YOUR APPKEYID>"
}
- Enter the provided User Name into the "PAYLOAD:DATA" section as follows:
{
"scope": "appUser",
"userId": "<YOUR USER NAME>"
}
- . Enter the provided appKeySecret into the "VERIFY SIGNATURE" section as follows:
HMACSHA256(
base64UrlEncode(header) + "." +
base64UrlEncode(payload),
<YOUR APPKEYSECRET>
)
- After everything is entered properly, your entry on JWT.io should look like this:
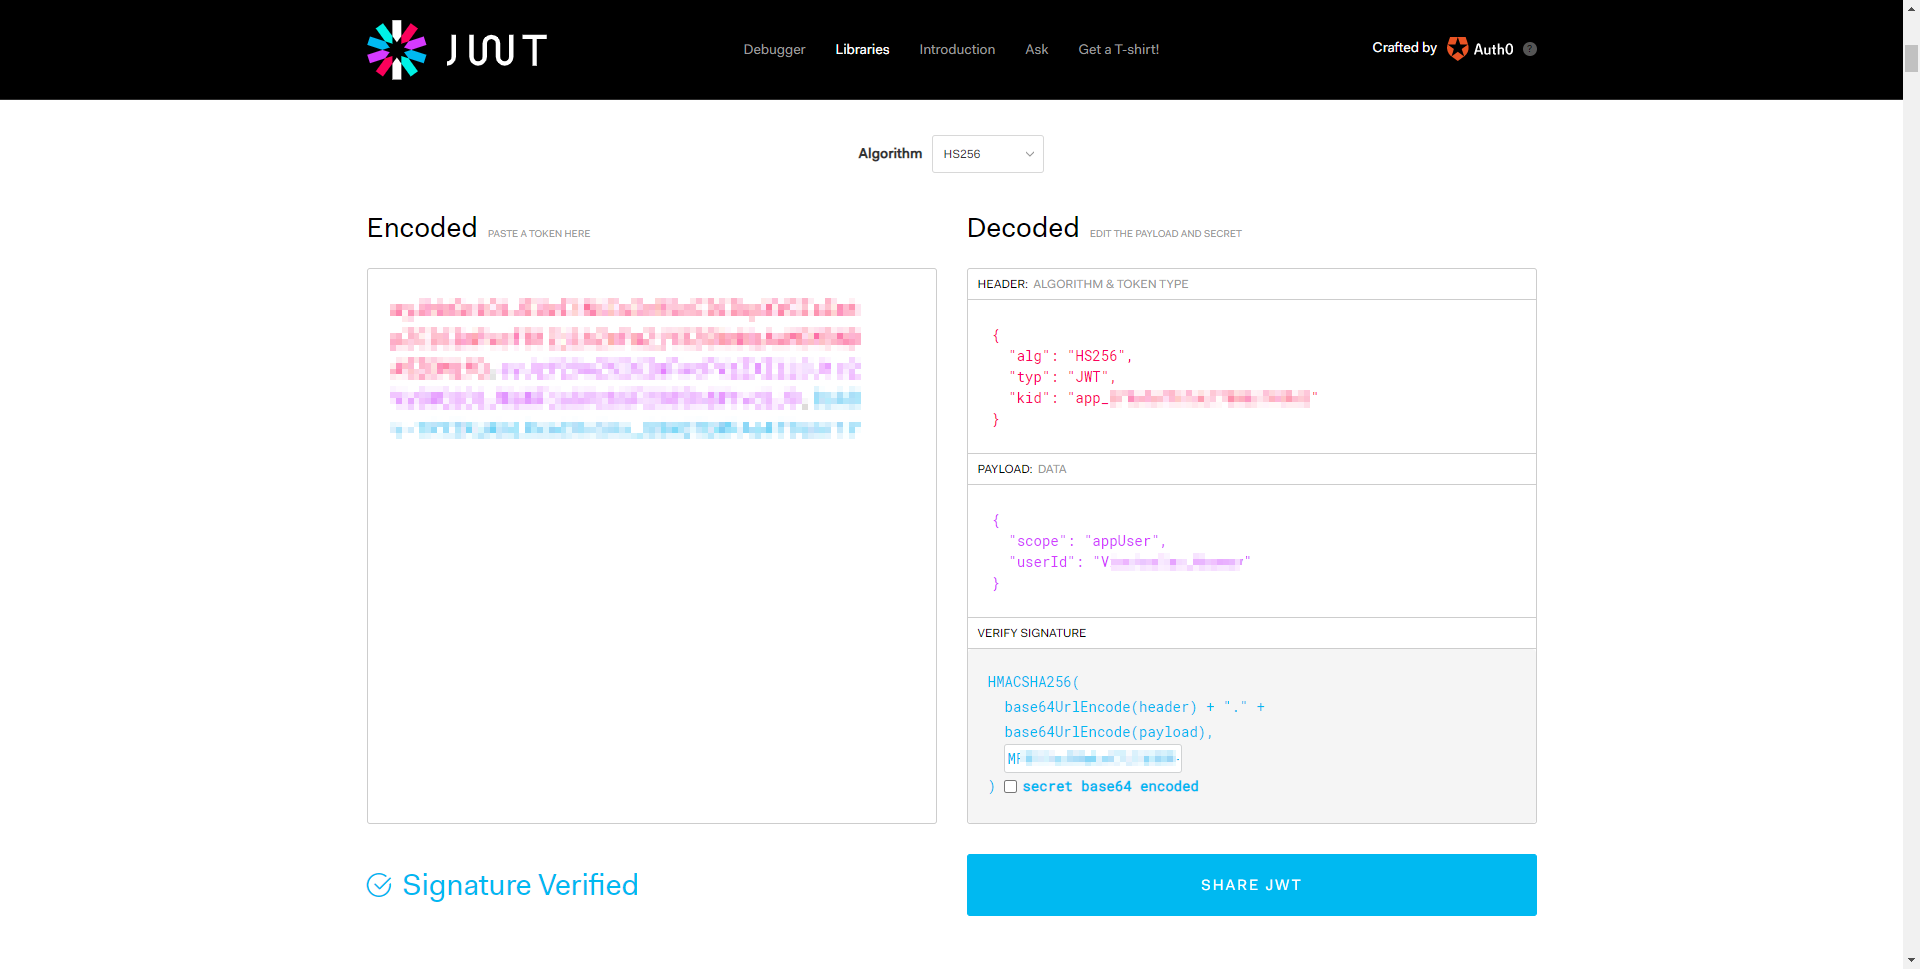
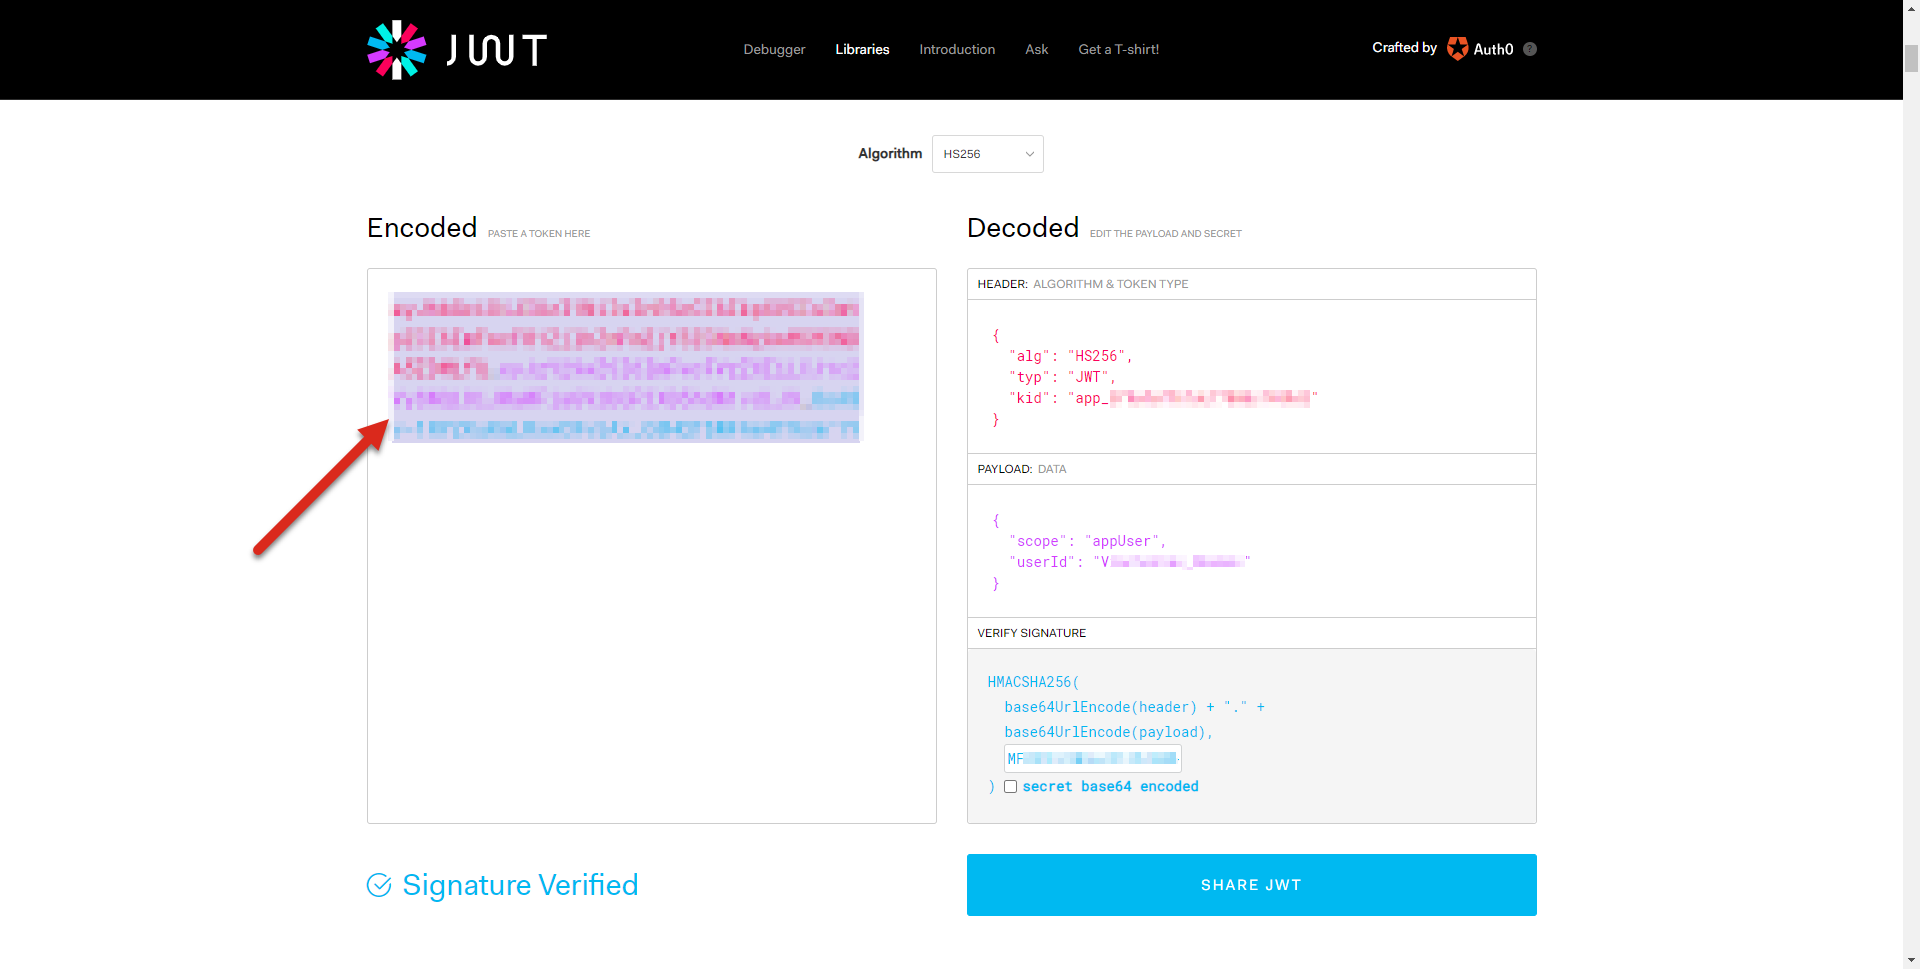
- Once you have confirmed all of the information on JWT.io, copy all of the contents in the Encoded section
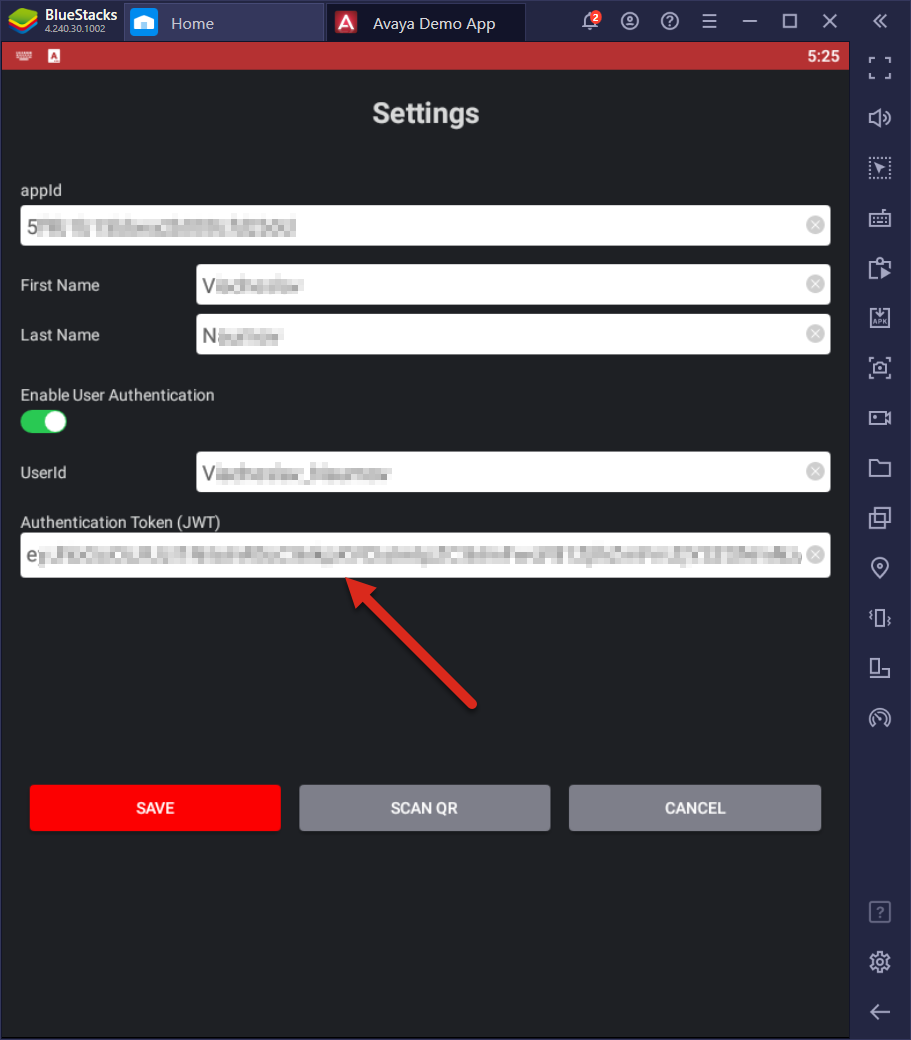
- Take the copied JWT Token and paste it in the "Authentication Token (JWT)" field in the Demo App in Bluestacks
- Click "Save" and you will be taken to a landing page where you can click "Start"
- After successfully authenticating as a demo customer, you will see the Messages window will now show your entire conversation history as the demo user
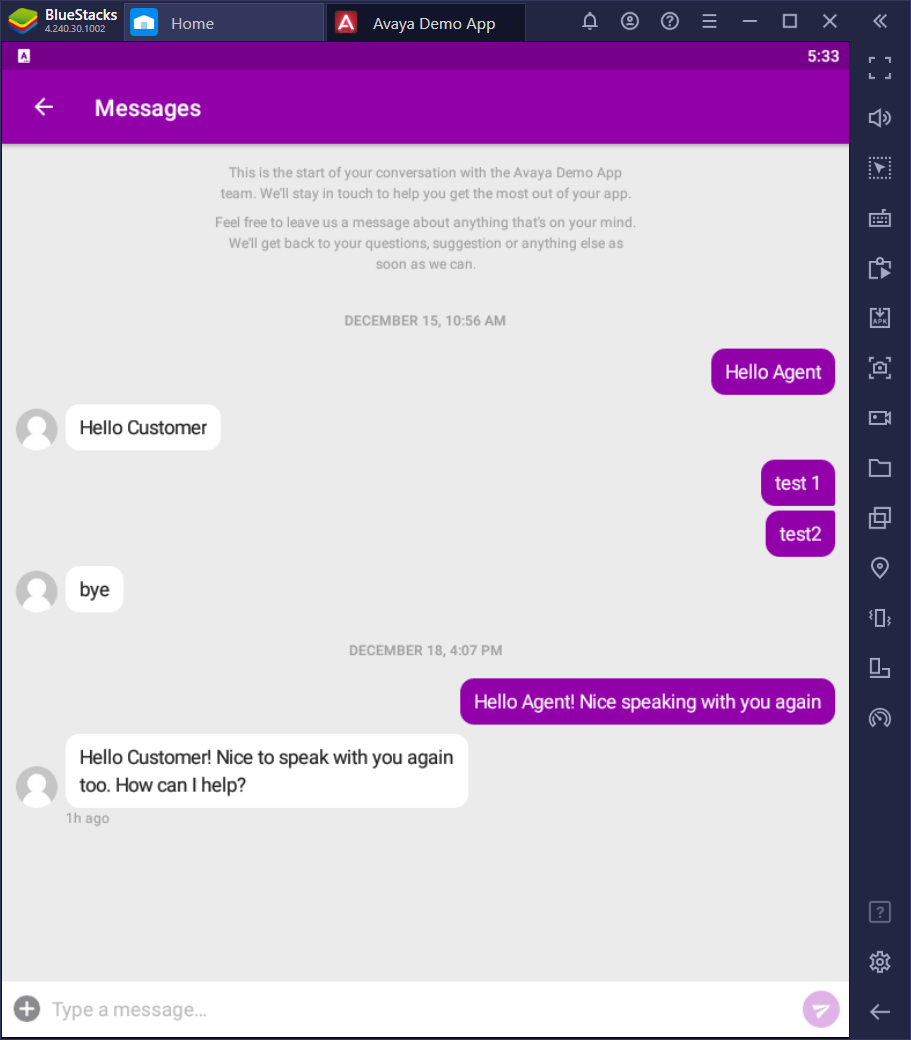
- You can begin to "Type a message..." to start a Messaging interaction with one of your agents on Avaya Experience Platform™ as an authenticated demo customer
Accepting Messaging Demo App Interactions as an Agent
In order to receive the Messaging interactions as an Agent, you must have an Agent account on Avaya Experience Platform™. Once you have an Agent account on Avaya Experience Platform™, sign in to the agent desktop and will be able to start Messaging back and forth between you as the Customer in the demo app and you as the Agent on the agent desktop.
Web Messenger Demo App with Conversation History
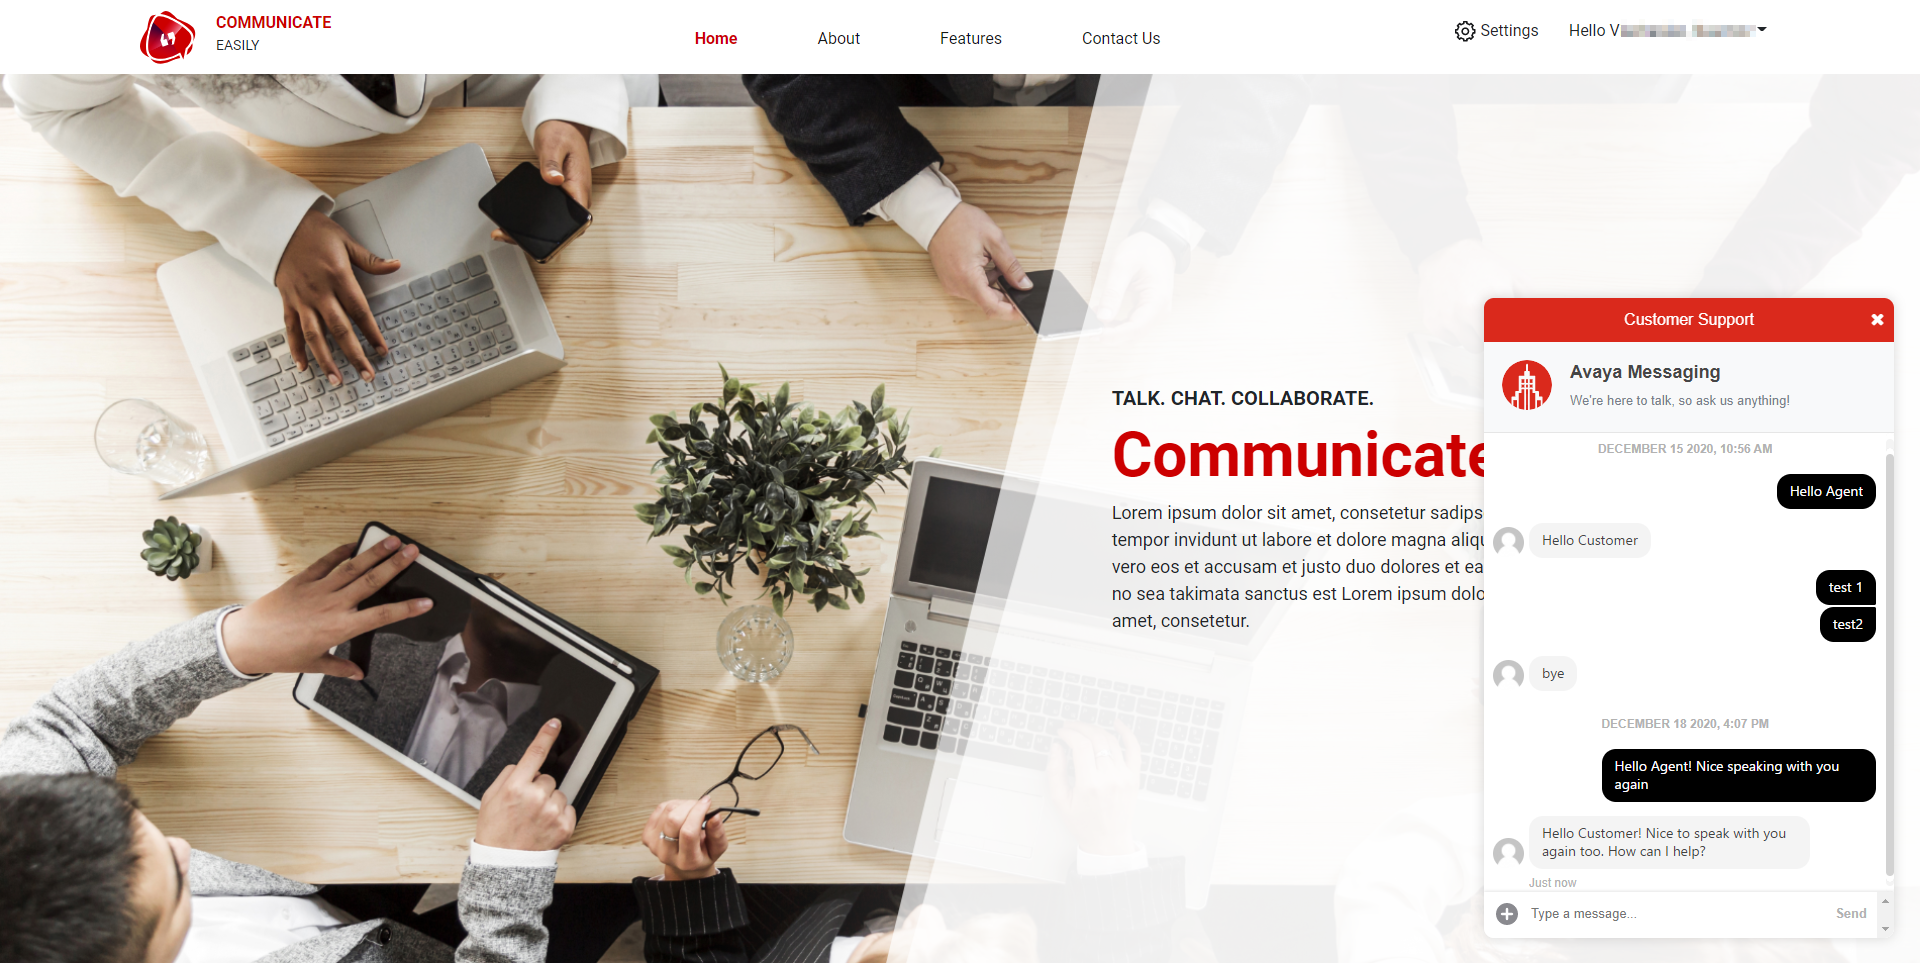
Android SDK Demo App with Conversation History

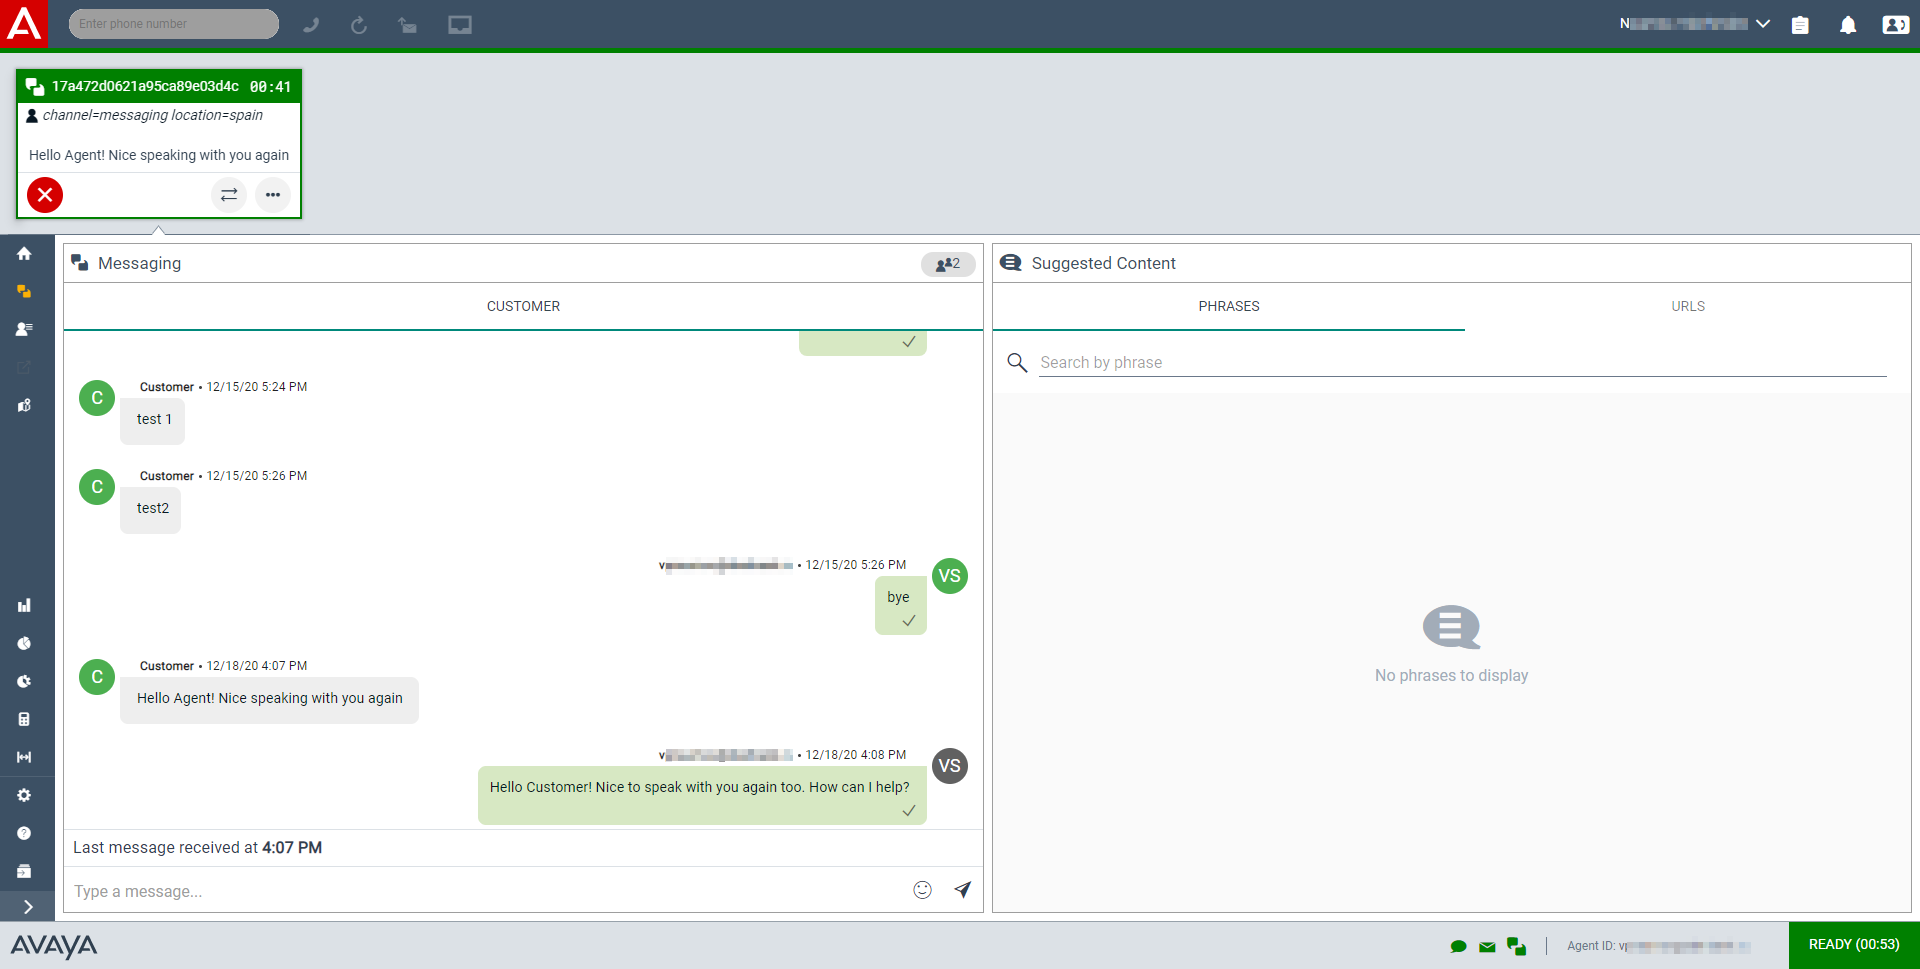
Agent Desktop with Conversation History
Warning
Agents on Avaya Experience Platform™ only see the conversation history for authenticated users
Updated over 2 years ago